This is the second part of the Installation.
Step 1: Install Your Theme via WordPress
Step 2: Installing Required Plugins
Step 3: Importing Demo Data
Step 4: Run WooCommerce Setup Wizard (If your theme has a shop)
After Installing the WordPress theme, you might see a notification at the top of the page which says the theme needs some plugins to function properly. These plugins add more features to the theme such as portfolio, contact form, shop, which makes your website more powerful.
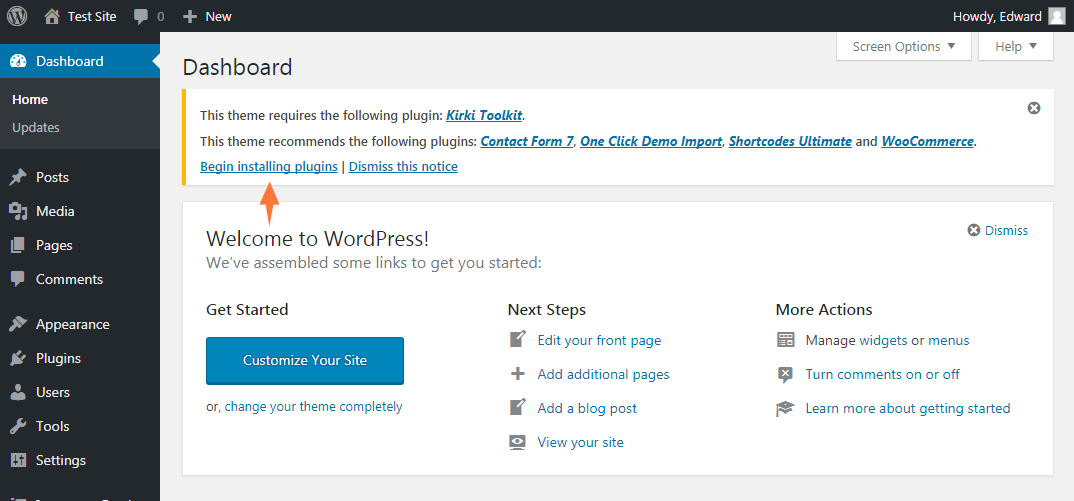
Click on “Begin installing plugins” to see a list of required and recommended plugins. The required plugins must be installed to make the theme work as expected while the recommended are just optional as the website still work without them, but it’s still better to have them installed.
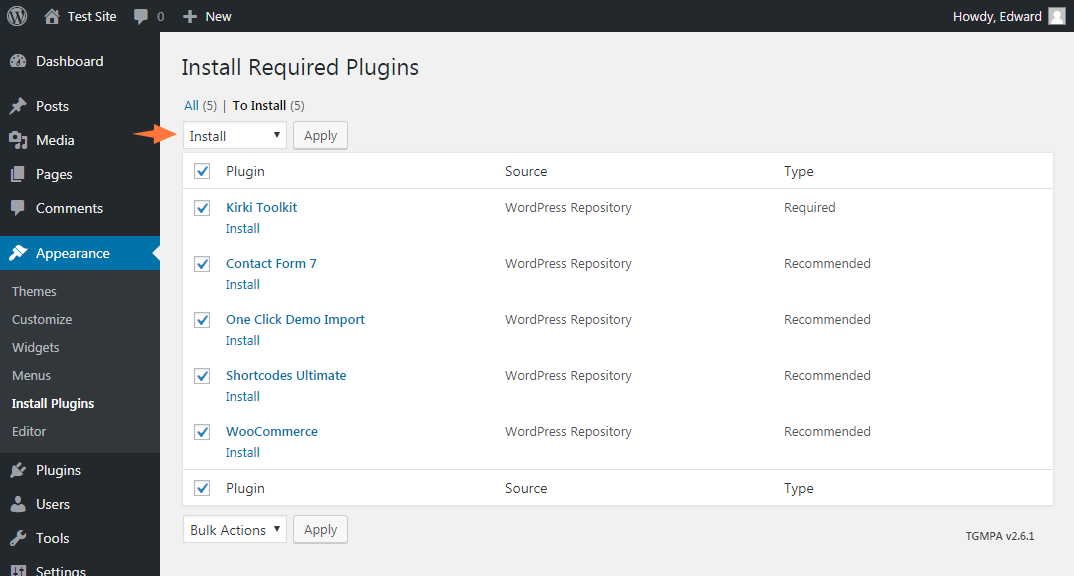
Check boxes to select all the plugins you want to install, select the bulk action of install from the dropdown box and then click the button to apply.
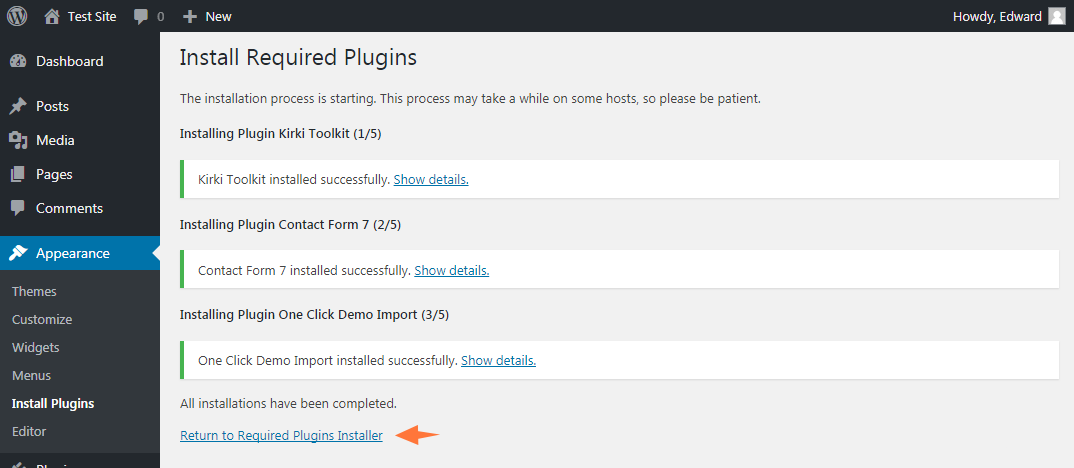
Some plugins are included directly in the themes and some are hosted on wordpress.org which takes a while to download. After installing, click the link Return to Required Plugins Installer. You’ll be redirected to a page where all installed plugins are listed.
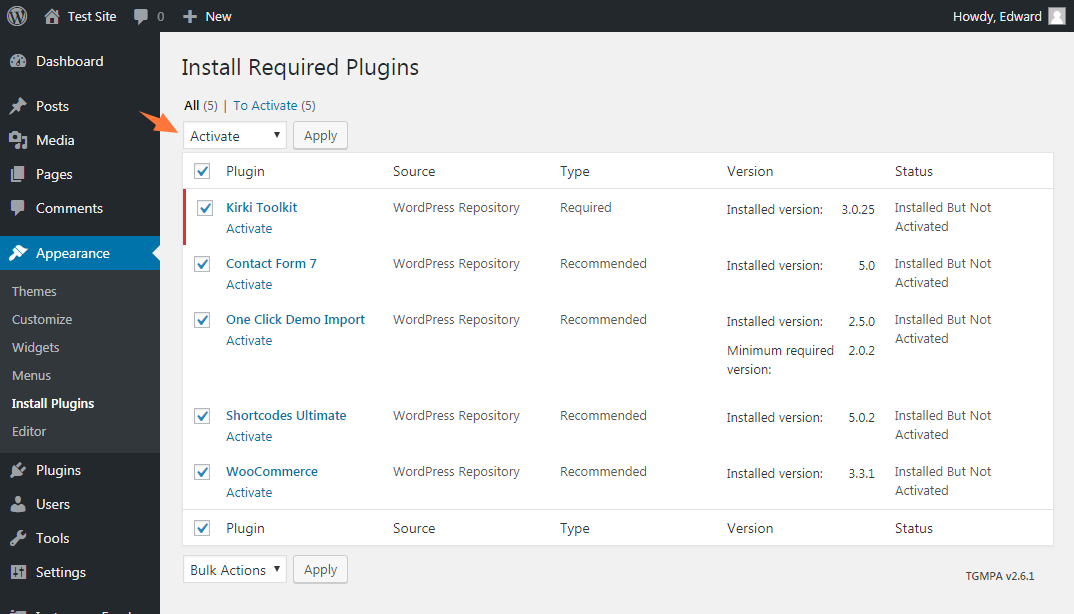
Select them all, then select the bulk action of Activate from the dropdown box and click the button to apply:
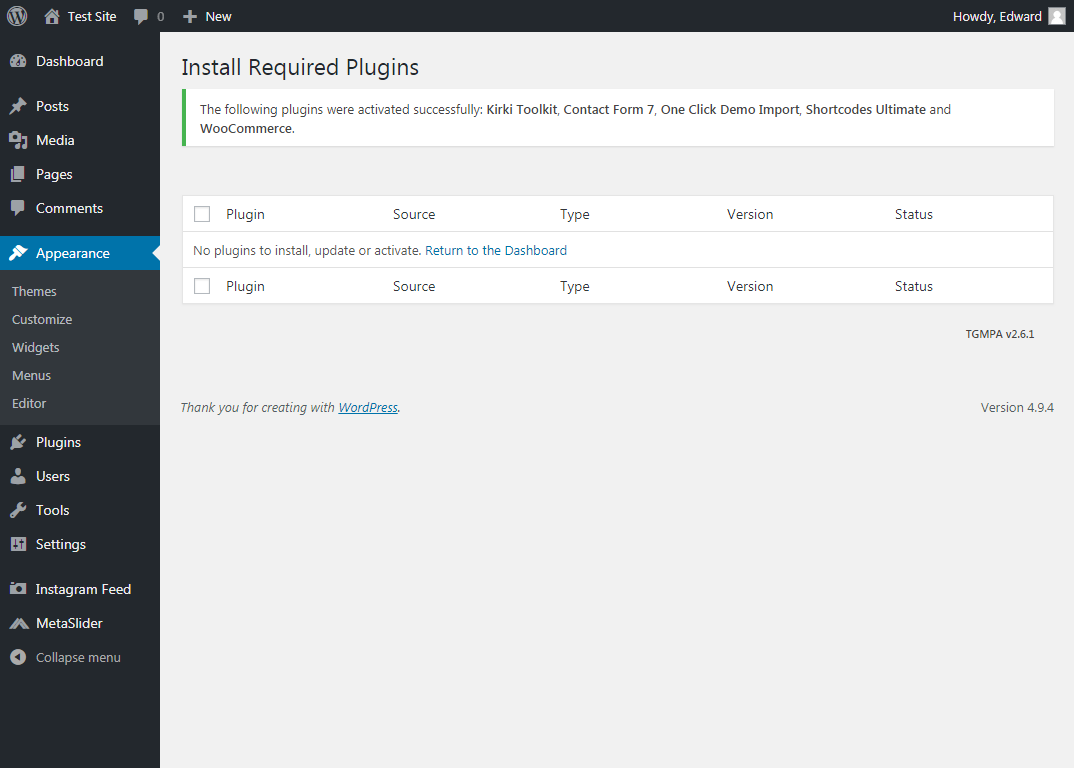
You should then see a confirmation notice that you plugins were activated successfully.
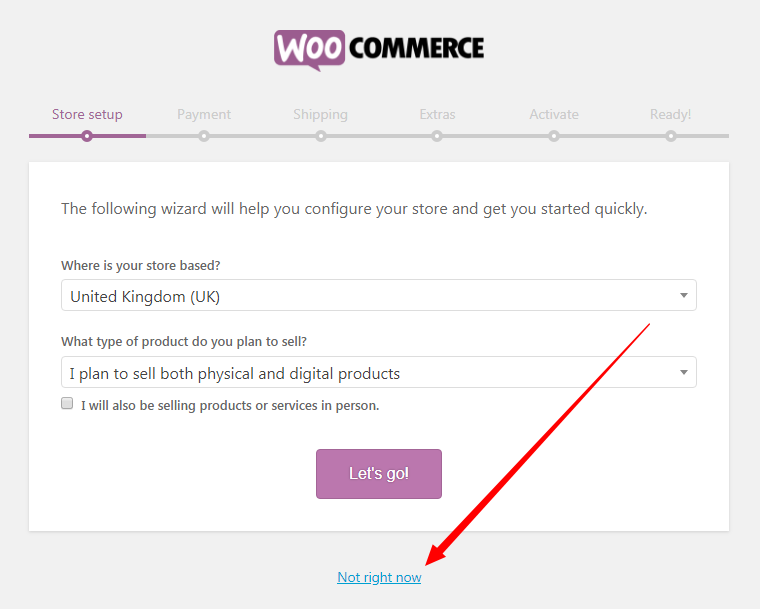
Skip WooCommerce Setup Wizard at this time
If after activating plugins, you are taken to WooCommerce Setup Wizard, click on Not right now to skip it at this time, we will run it later.